Delay Record
Use the Delay Record page to log one or more delay events against a project, attach supporting photos when the connection is strong enough, and then submit the full record with a signature.
What the page covers
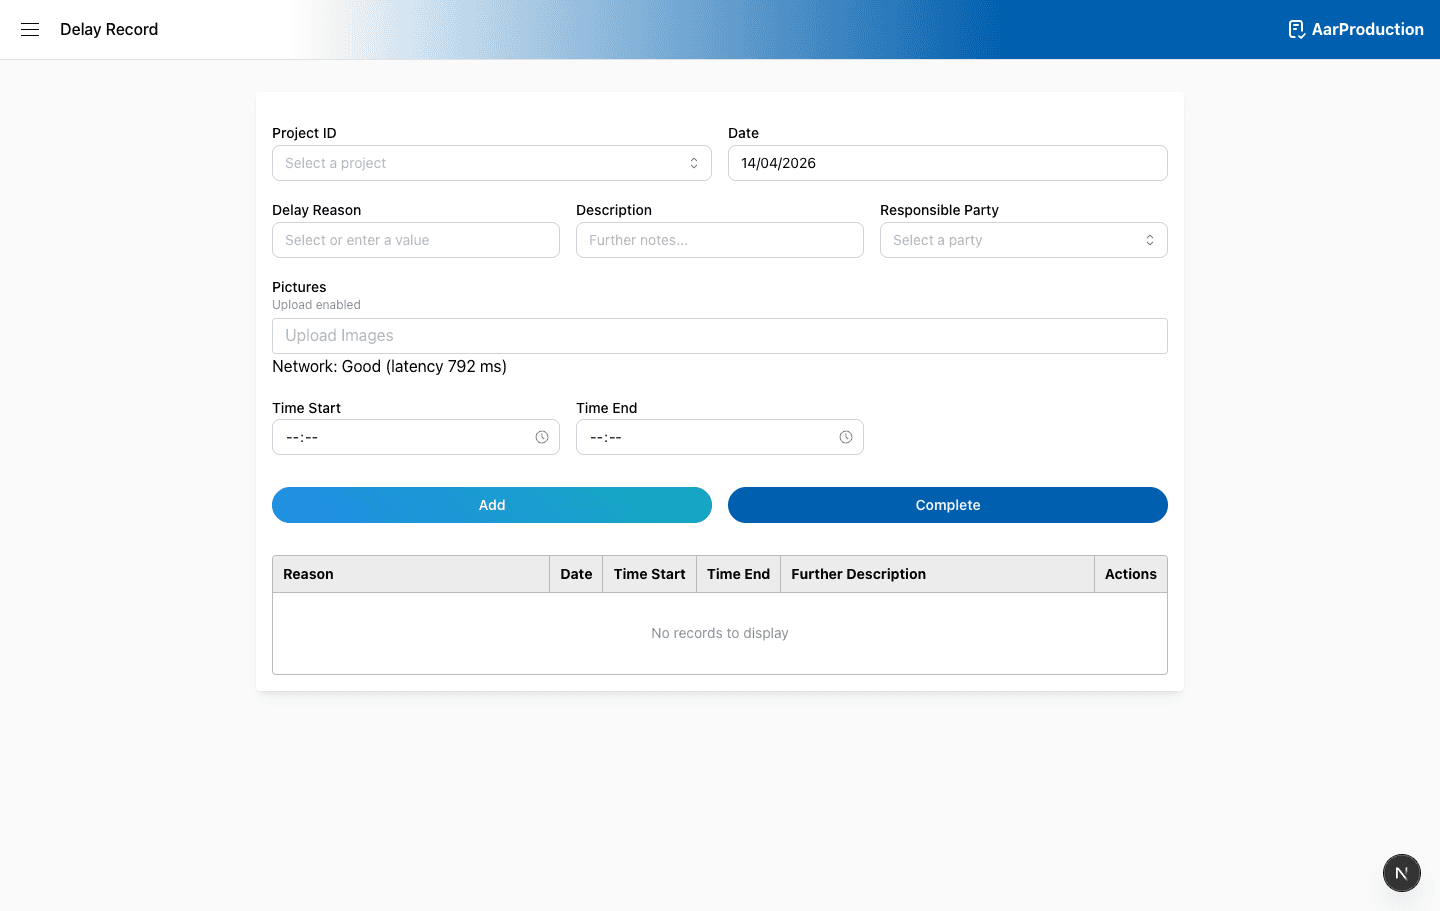
- Select the project and delay date for the first entry you are adding
- Record the delay reason, description, responsible party, and start and end times
- Add multiple delay entries to the same delay record before completing it
- Review saved entries in the table, open attached photos, or delete an entry before submission
- After you add the first delay, both the project and date are locked for the rest of that delay record
- Picking a known delay reason auto-fills the responsible party, but you can still change it between Client and Aarsleff
Duplicate record checks
- When you start a new delay record while online, the page checks whether a record already exists for the same day and project
- If an in-progress record already exists, you are prompted to switch to that record instead of creating a duplicate
- If the matching record has already been submitted or completed, you cannot switch to it and must change the date or project to continue
- The page also warns if the selected project matches a recent Delay Record submission so you can confirm it is intentional
Uploads and connectivity
- Photo upload is only enabled when the app detects both an online connection and acceptable bandwidth or latency
- The page checks browser network information where available and also runs a latency probe before enabling uploads
- If the connection drops, you can still add delay entries without photos and keep the in-progress record on this device
- Resume data is stored locally and also written back to the linked inbox record when one exists
- Completing a record still depends on the record and inbox state syncing correctly, so reconnect if submission is unavailable
Completing the record
- Confirm the project and date are correct before you add the first entry.
- Check the reason, responsible party, times, description, and any photos for each saved entry.
- If you have started a new unsaved entry, finish all required fields before using Complete.
- Use Complete to open the signature modal and submit the full delay record.
Current validation and actions
- You must add at least one delay entry before the form can be completed
- If there is unsaved data in the form, the page validates that entry before allowing completion
- The date cannot be in the future
- The end time cannot be earlier than the start time
- Each saved row can be opened to view attached photos or deleted from the record before submission
Important
If you have started typing a new entry, finish the required fields before using Complete. The page validates the current entry before it lets you submit.